Add Content
By default, Apache httpd stores web content in the /var/www directory. To allow the ec2-user user to manage files in the default root directory for your Apache web server, modify the ownership and permissions of the /var/www directory. In this tutorial, you add a group named www to your EC2 instance and add the ec2-user user as a member of that group. Then you give that group ownership of the /var/www directory and add write permissions for the group. Any members of that group can then add, delete, and modify files for the web server.
To set file permissions for the Apache web server, add the www group to your EC2 instance with the following command.
sudo groupadd www
Add the ec2-user user to the www group:
sudo usermod -a -G www ec2-user
Log out by issuing the exit command to refresh your permissions and include the new www group.
Log back in again and verify that the www group exists with the groups command. Your output looks similar to the following:

Change the group ownership of the /var/www directory and its contents to the www group.
sudo chgrp -R www /var/www
Change the directory permissions of /var/www and its subdirectories to add group write permissions and set the group ID on subdirectories created in the future.
sudo chmod 2775 /var/www
find /var/www -type d -exec sudo chmod 2775 {} +
Recursively change the permissions for files in the /var/www directory and its subdirectories to add group write permissions.
find /var/www -type f -exec sudo chmod 0664 {} +
Right now you are in the /home directory. You can verify this by using the “pwd” command. Change your directory to /var/www/html:
cd /var/www/html
Add some sample content to be served by your web server. Add a file called index.html using this command:
nano index.html
You can add any html file you want. For example, you can use this simple html file:
<!DOCTYPE html>
<html>
    <head>
        <title>Hello World!</title>
    </head>
    <body>
        <p>Hello World!</p>
    </body>
</html>
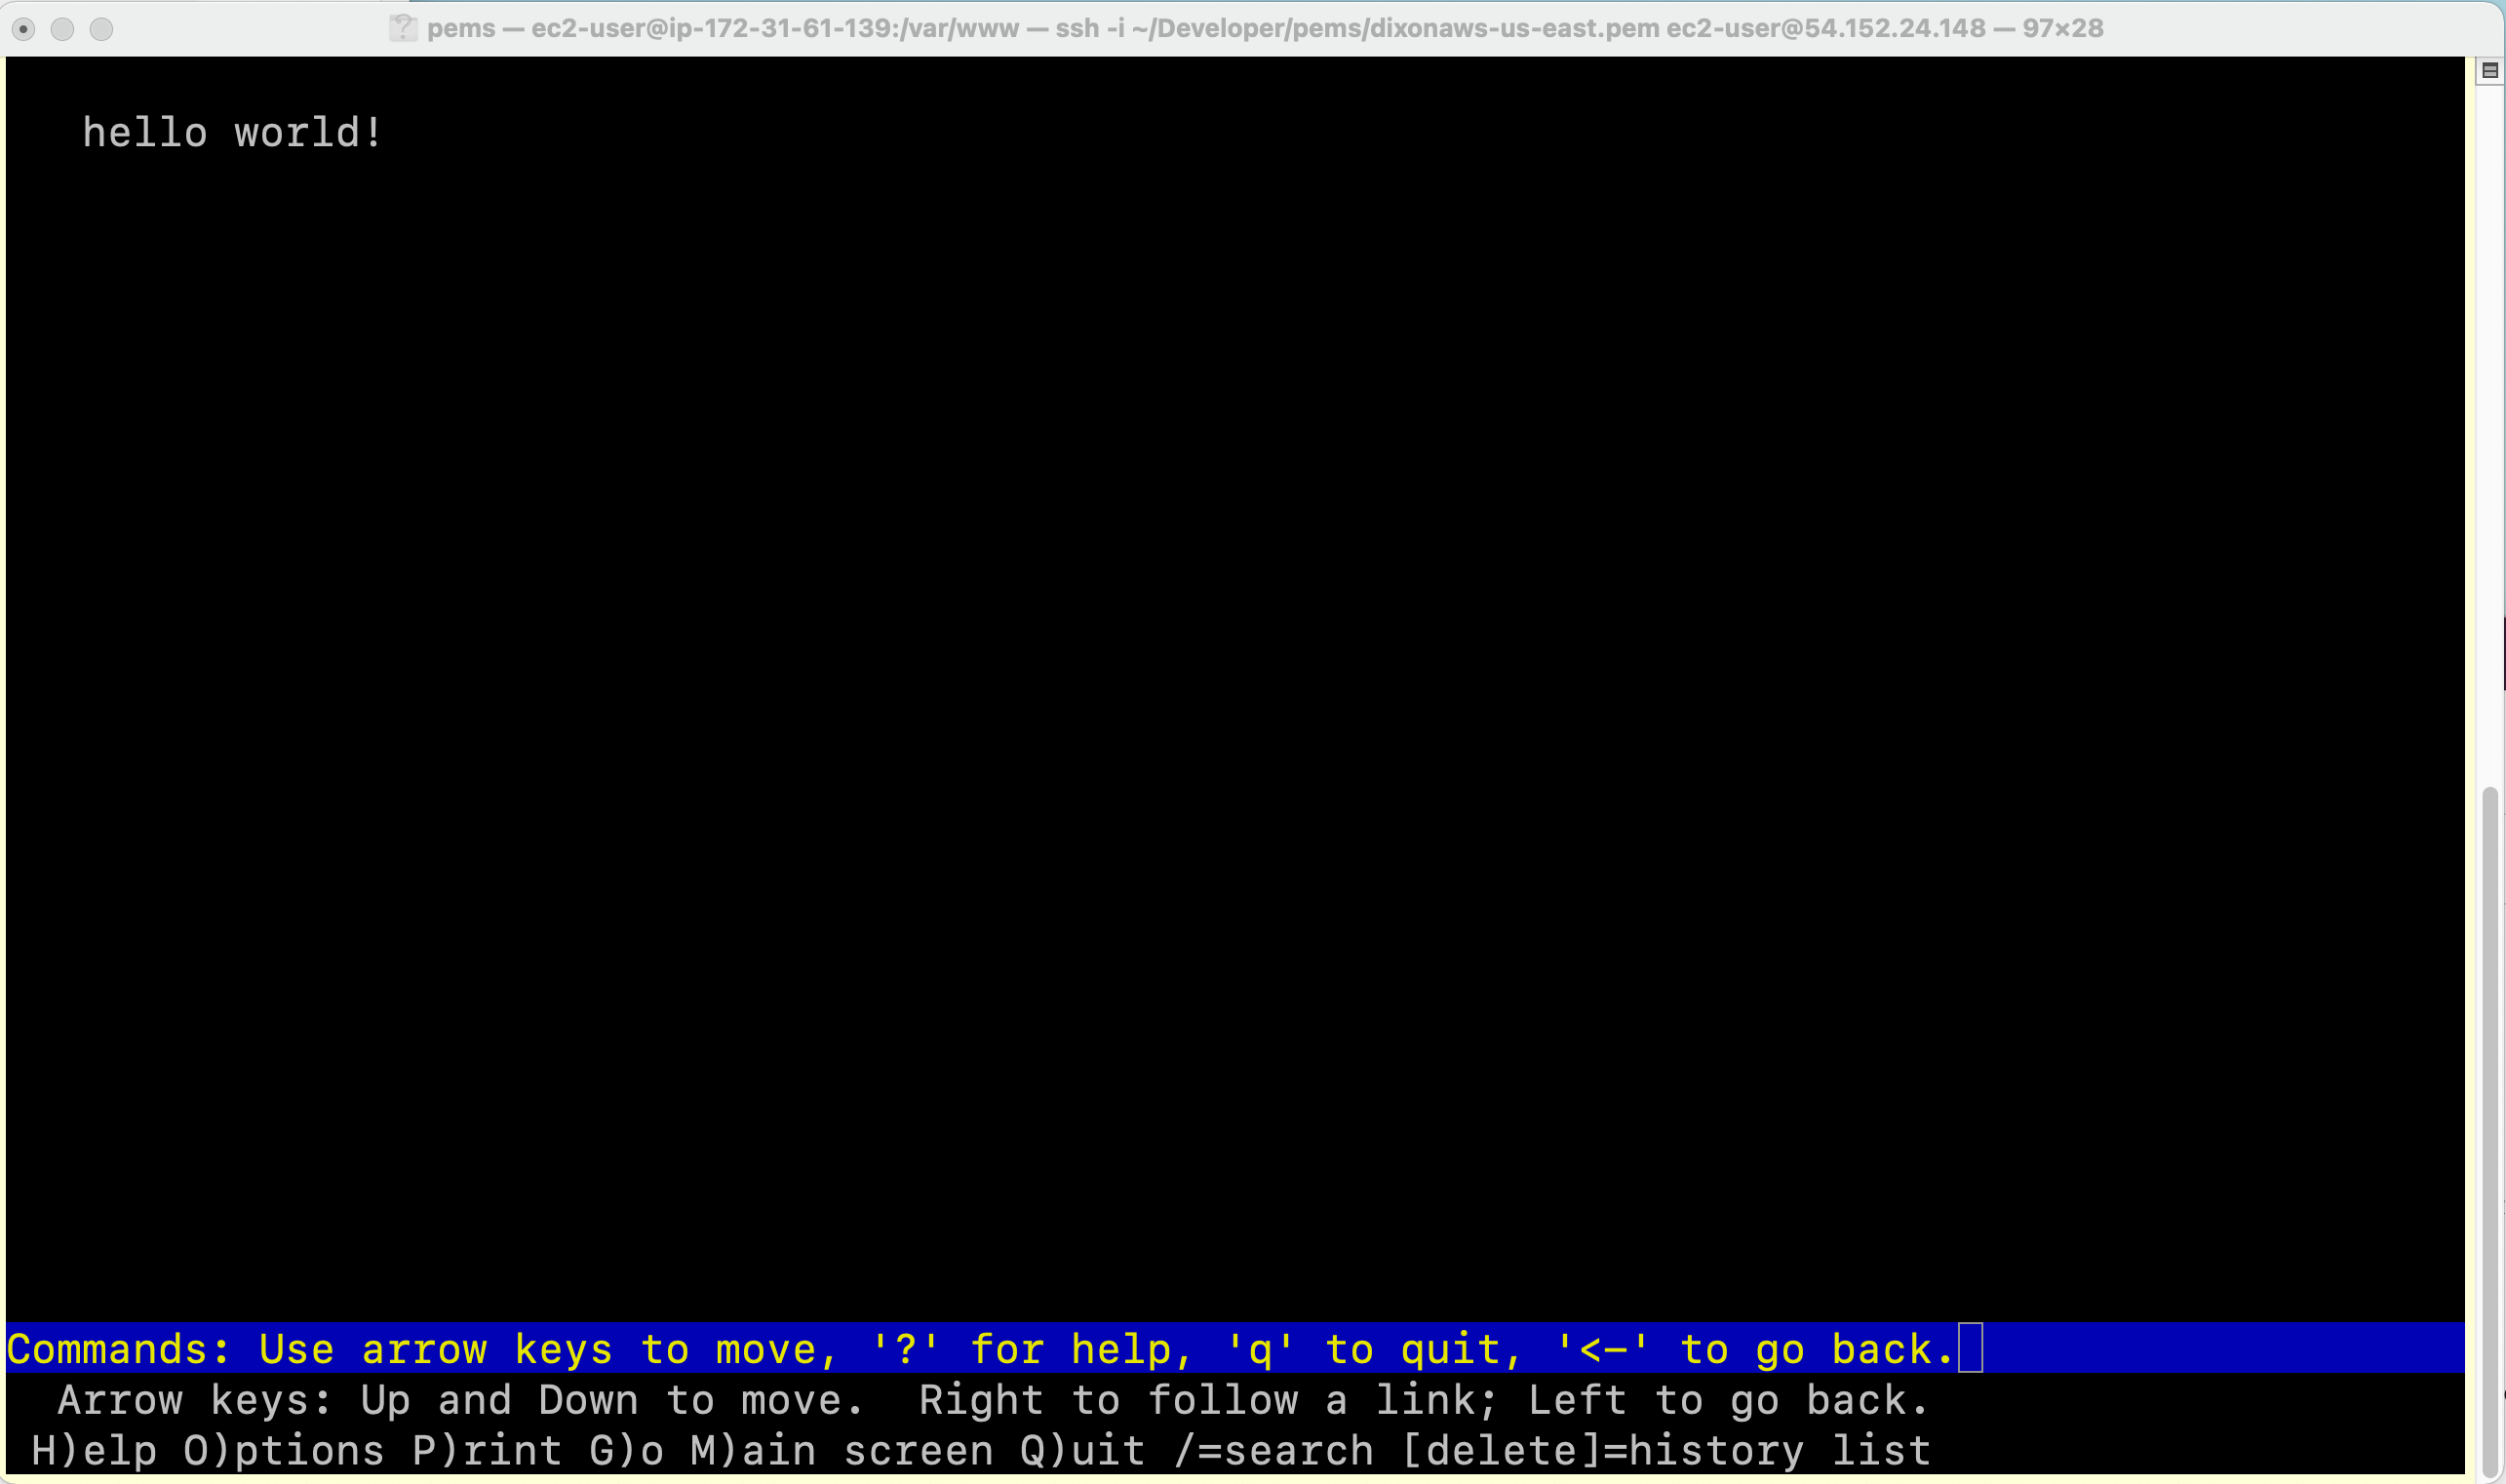
Save your file and use lynx to browse to the page with lynx http://localhost. You should
see something like this:

In the next section, we’ll configure the network so that you can access your web server from the internet.