Install Apache httpd
In this section, we’ll use the yum package manager to install a popular open-source web server, Apache httpd. Start connecting to the EC2 instance that you created earlier
Get the latest bug fixes and security updates by updating the software on your EC2 instance. To do this, use the following command:
sudo is Superuser Do - this command allows normal users to run commands as root (the superuser). Installing software is one common task for the superuser (usually). Learn more about sudo here.
sudo yum update
After the updates complete, install the httpd software using the yum install command:
sudo yum install -y httpd
Start the web server with this command:
sudo systemctl start httpd
Configure the web server to start with each system boot using the systemctl command:
sudo systemctl enable httpd
From your Linux instance, you should be able to browse to your web server. You can use a text-based browser called lynx to browse to sites on the command line.
Install it with this command:
sudo yum install -y lynx
Now issue this command to browse to your web server:
lynx http://localhost

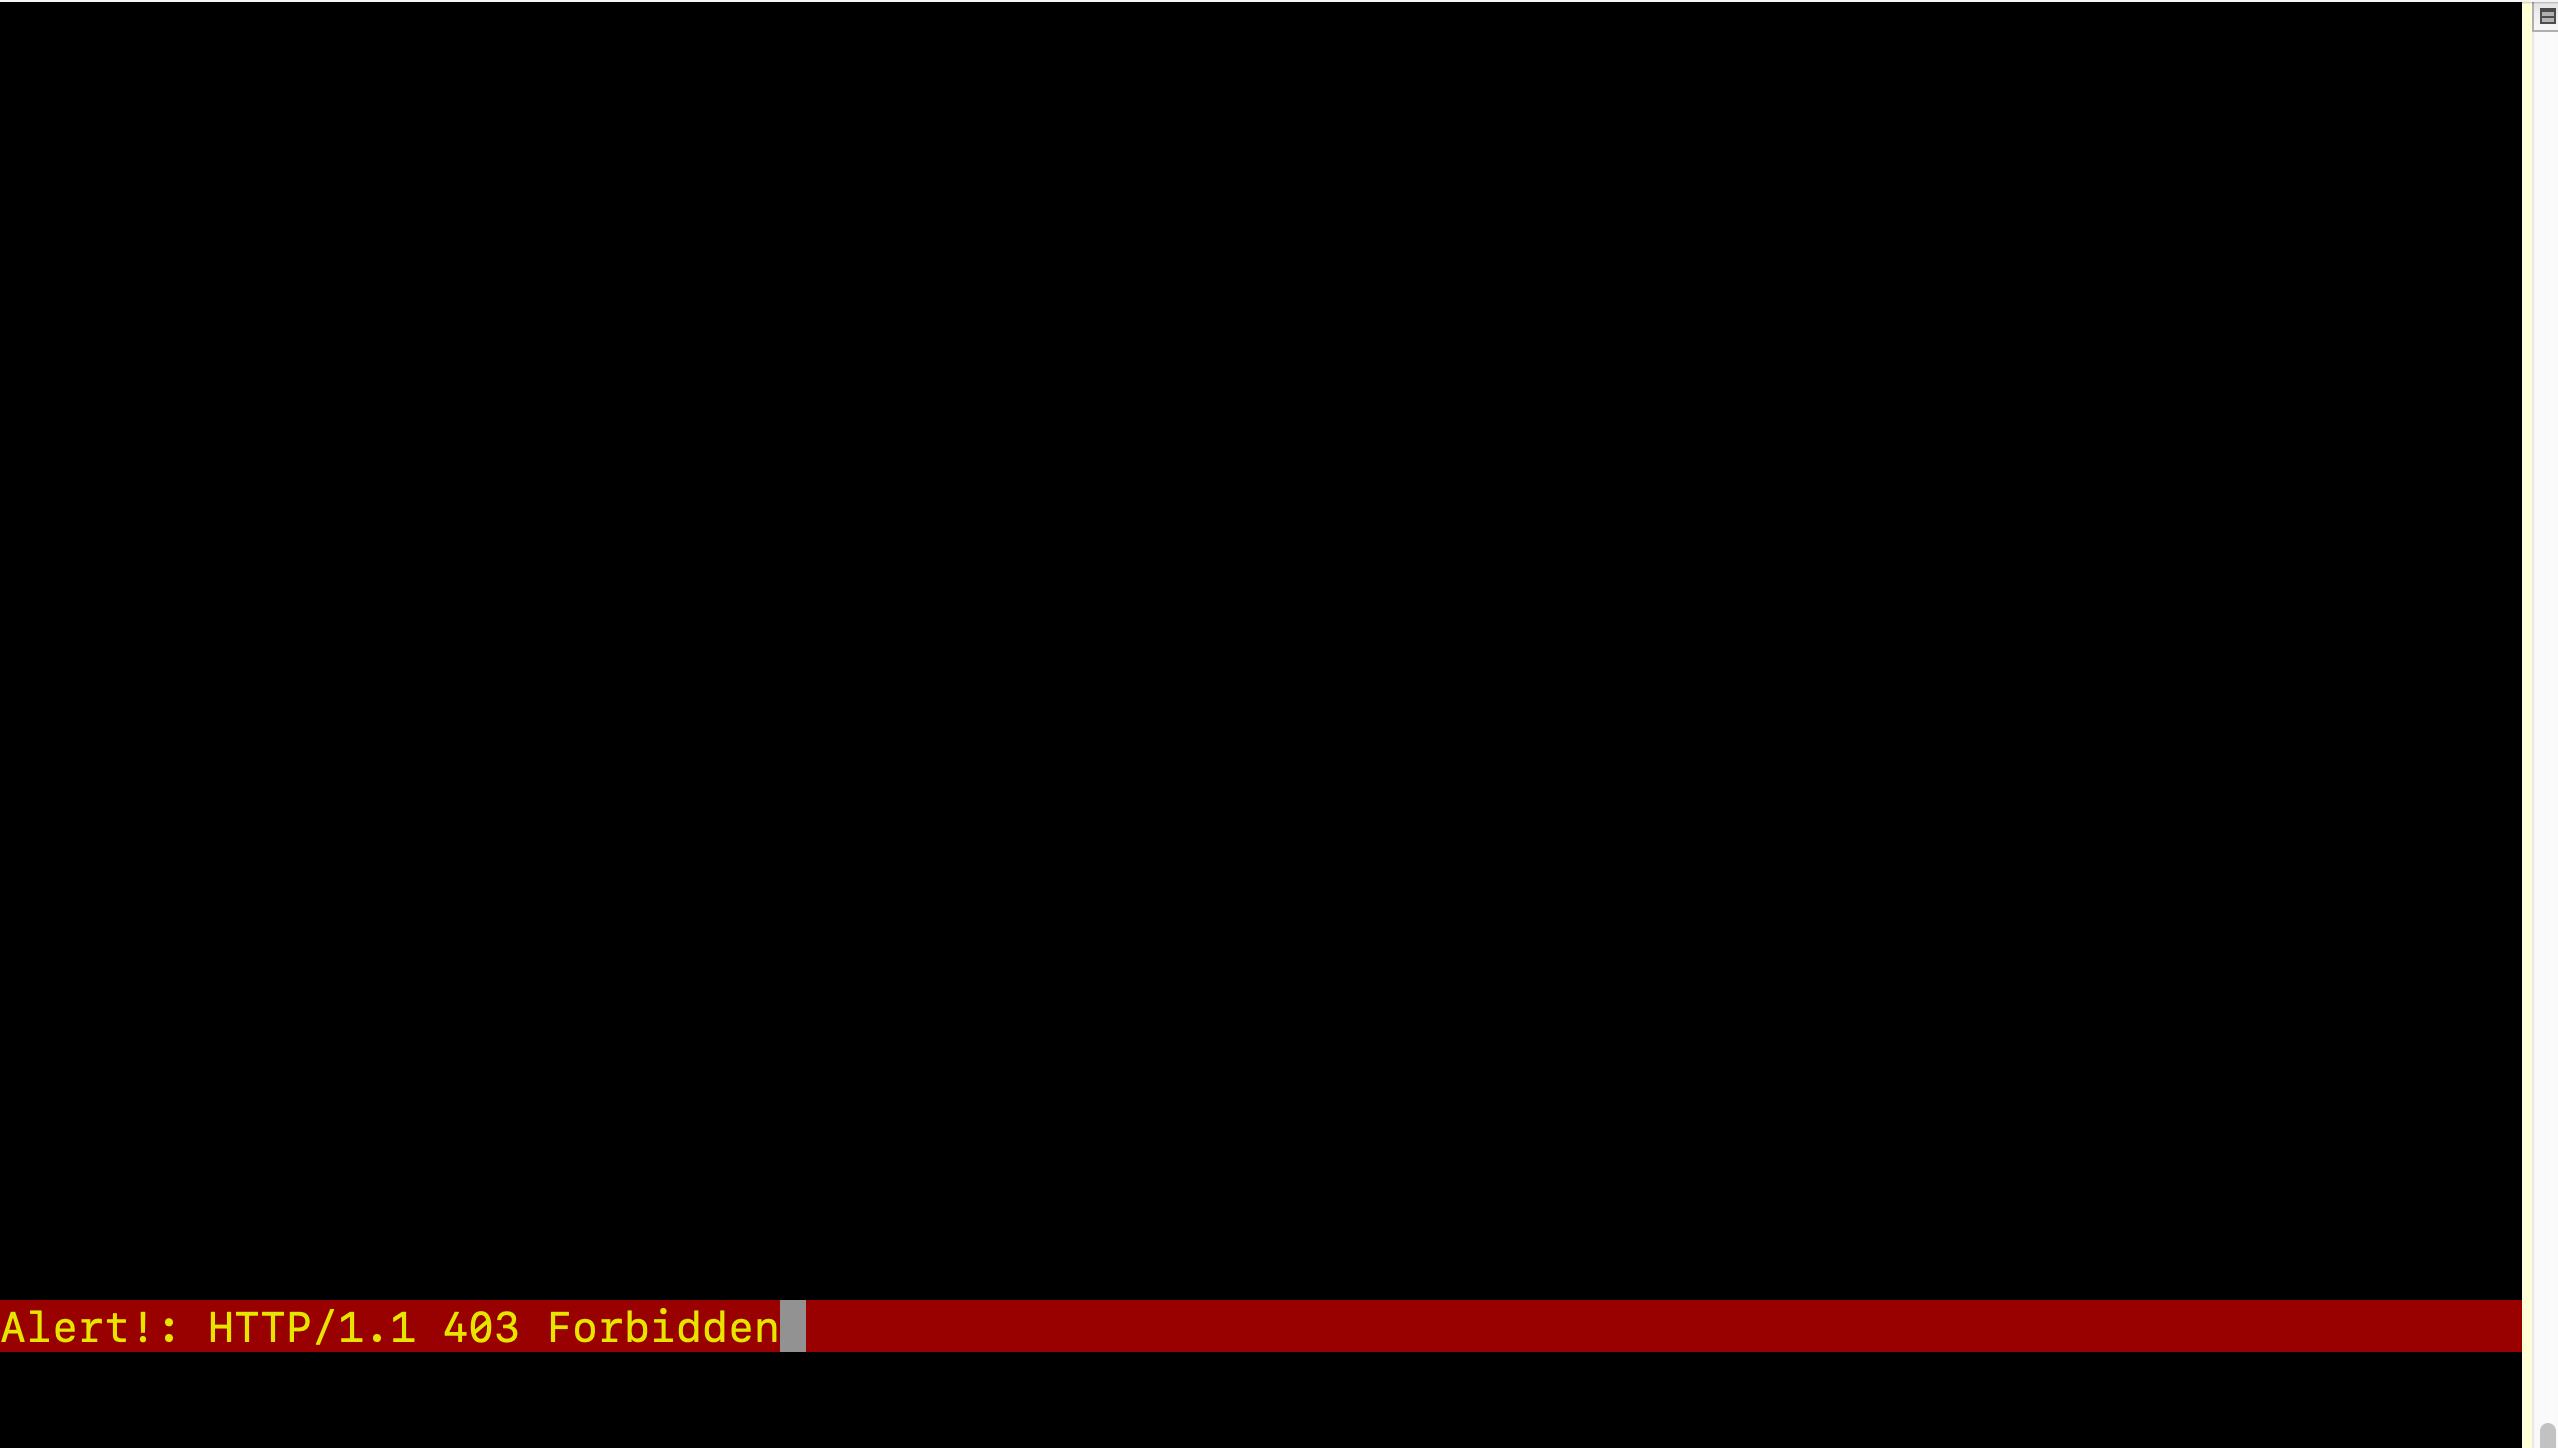
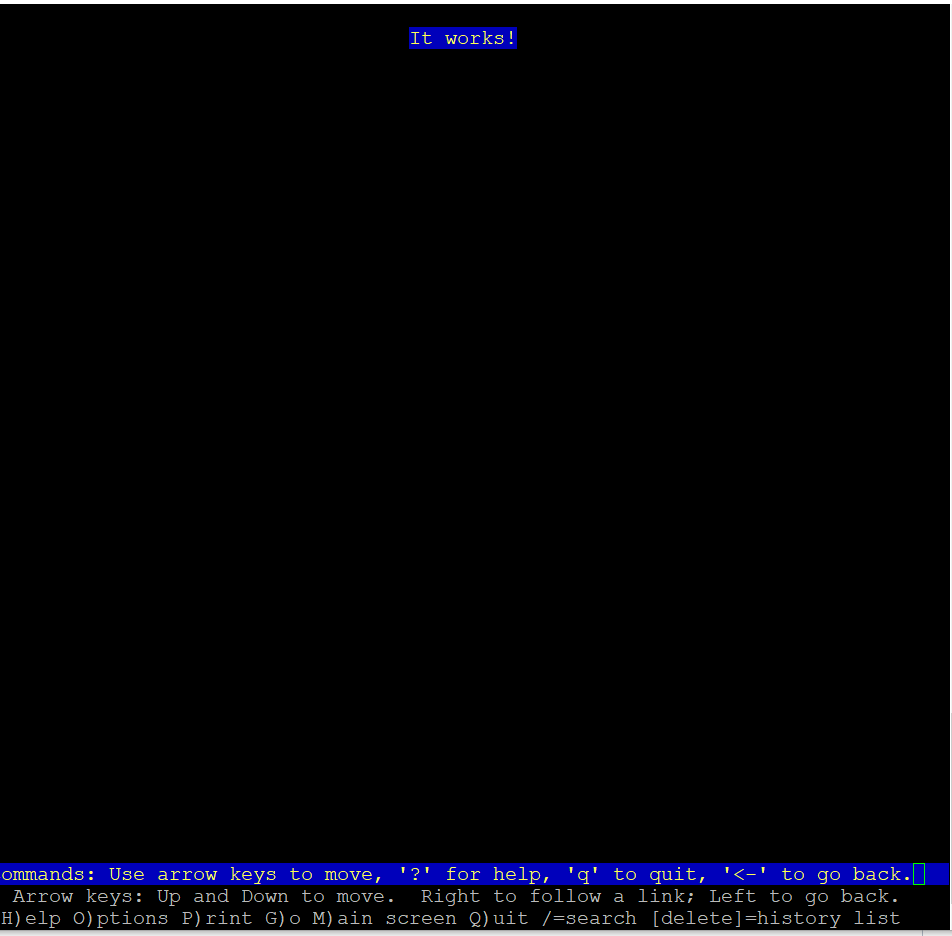
You will initially see an error in the browser that reads HTTP 403 - Forbidden. This is the default response for new installations of Apache httpd. Don’t worry - this is expected and will show the Apache test page after a few seconds. When you add some web content in the next section, this error will not be shown.
Once you see this screen, you have successfully installed Apache httpd and been able to browse to it from your Linux instance. Done!
(Type q to exit Lynx)
